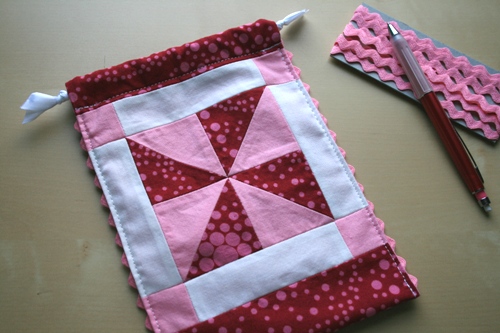
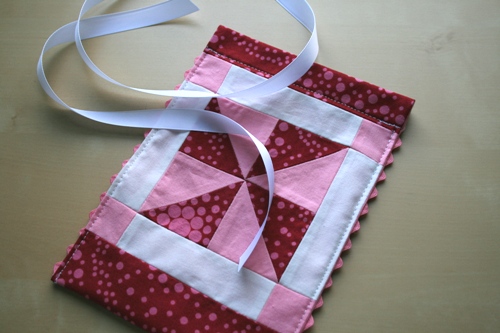
Today's project is a petite drawstring bag. The finished size is 8.5" x 6".
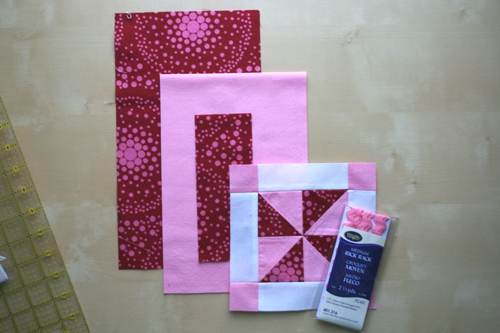
Materials:
One 6.5" (unfinished) quilt block. We used the Forest Paths block.
11.5" x 6.5" piece of fabric
2.5" x 6.5" piece of fabric
19.5" x 6.5" fabric for lining
Approximately 1 yard ribbon
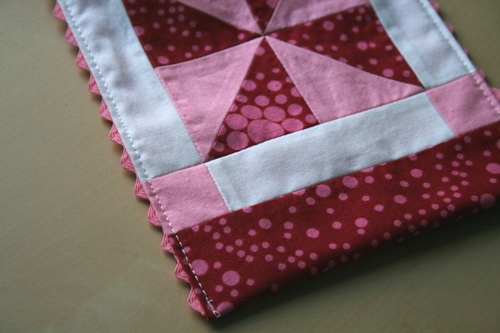
16" ric-rac (optional)
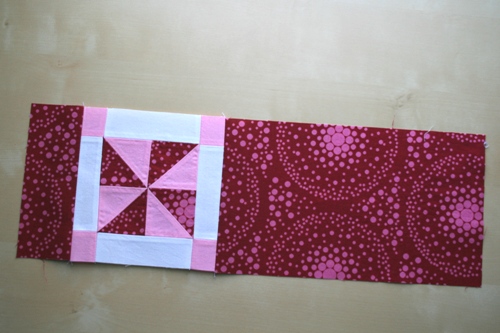
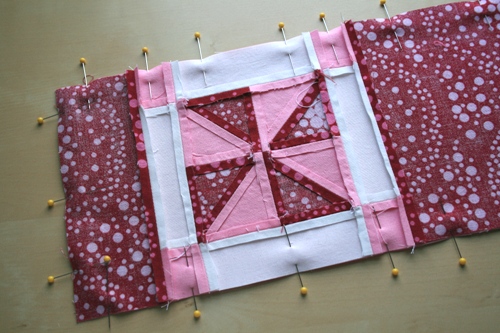
Lay out your fabric in the following order: 2.5" fabric, block, 11.5" fabric
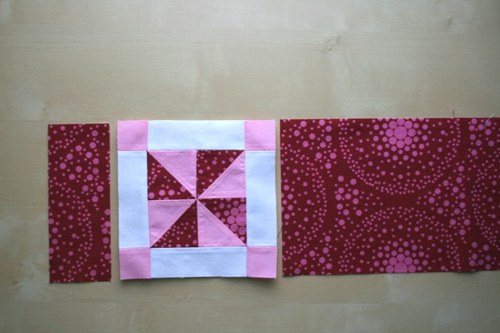
Sew together with 1/4" seams to finish the outside of the bag:
Pin the bag outside to the bag lining, right sides together.
Sew around all edges using a 1/4" seam. Leave a gap of 3", backstitching at the opening.

Turn bag through the opening and press all edges.

To make the casing for the drawstring, fold over the short edge to the inside, 1".
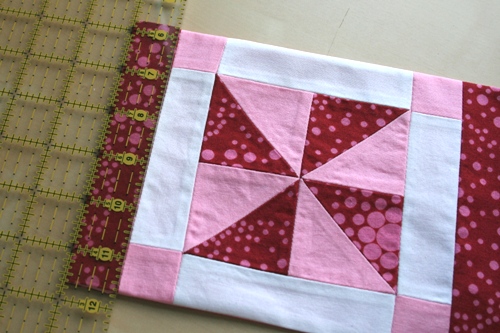
Repeat with the other short edge. Pin in place.
Sew along the bottom of the folded edges, backstitching at the beginning and end.
If you want to quilt your bag, now is your chance.
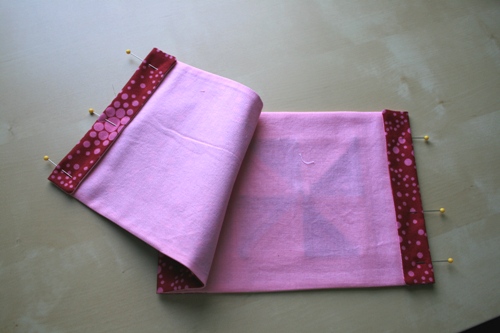
To finish the bag, fold in half (lining on the inside) and pin in place. If you want to add ric-rac, place it in at the edges before you pin. Your ric-rac should end at the stitching line for the casing (approx 7.5" from the bottom of the bag). The top of the bag is at the bottom of the picture...sorry for the confusing angle.

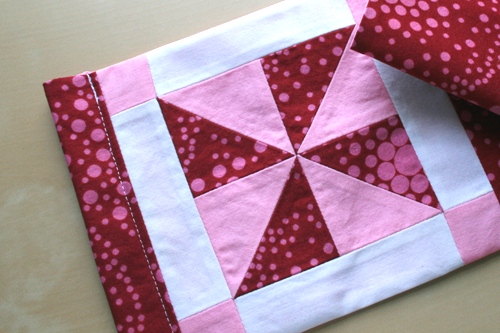
Topstitch the two long sides, backstitching at the top and bottom. DO NOT sew above the stitching line for the casing. If you do, you won't be able to insert a drawstring.
Cut your ribbon in half and insert one length through the front casing and continue through the back casing. Your ribbon will end where it started.
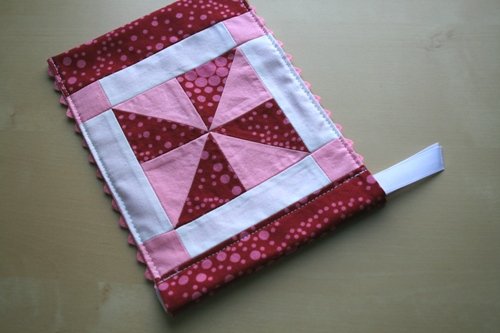
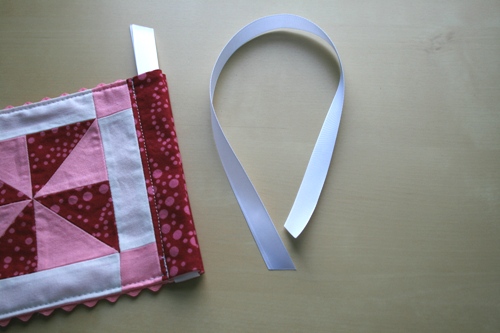
Repeat with the second ribbon, starting at the opposite side of the bag. Your ribbon will be folded like in this picture...only inside the casing.
When you have both ribbons in place, pull both ends evenly and tie a knot at each end. If you don't want your knots to show, slide them around until they're inside the casing.
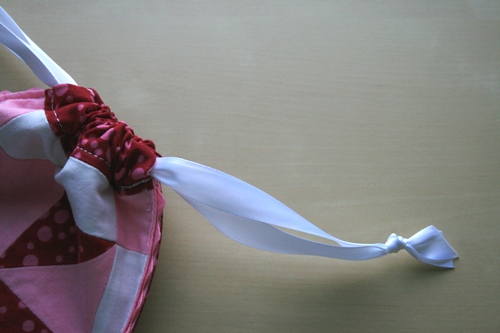
Fill your bag with treats and enjoy!